In this exercise, you will be working with virtual networks within the Azure Portal. You will create a new virtual network and explore the various management options.
- Navigate to the Azure Portal and sign in. On the Hub menu, click More Services.
- Type virtual networks in the filter to reveal the available options for managing virtual networks in the Azure Portal. Mark Virtual networks as a favorite to add it to your Hub menu.
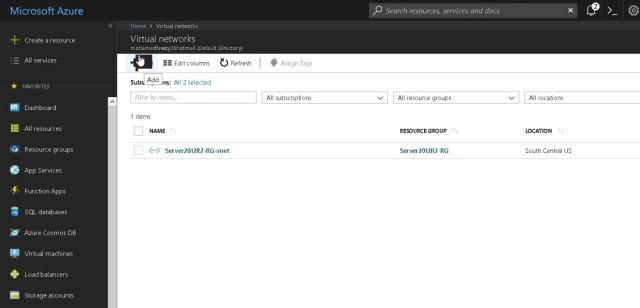
- Click Virtual networks. If you have any existing virtual networks they should appear in this list. Click Add.
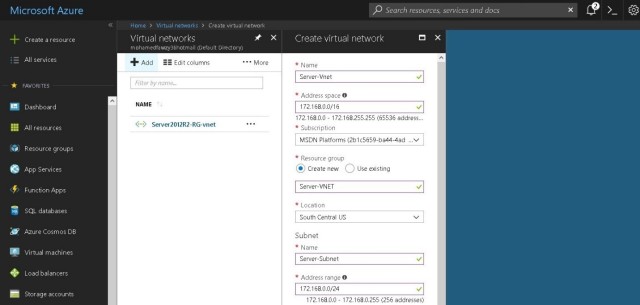
- On the Create virtual network blade, fill in the following values to create a new virtual network. Click Create when you are finished entering the information
- Name: Server-VNET
- Address space: 168.0.0/16
- Subnet name: Server-Subnet
- Subnet address range: 168.0.0/24
- Subscription:
- Resource group: Create a new one named “Server-VNET”
- Location:
- On the menu bar, monitor the alerts for progress as the new virtual network is created.
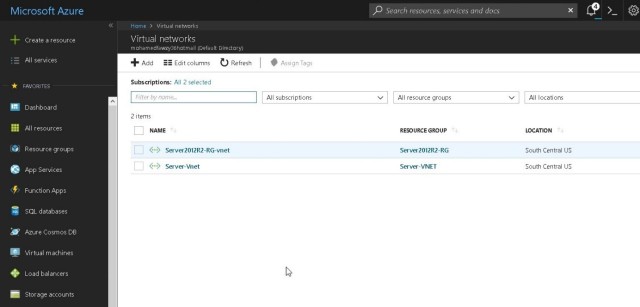
- On the Hub menu, click Virtual networks. Confirm that the new virtual network has been created. Click Server-VNET.
- On the Server-VNET blade, review the list of available management options under Settings, such as address space, connected devices, subnets, DNS servers, and peerings.
- When you are finished exploring the new virtual network, close the web page.