To deploy website for staging phase, following this procedure
- In Internet Explorer, in the full portal, in the navigation on the left, click App Services.
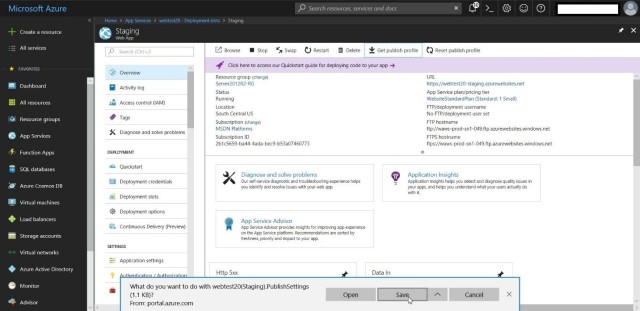
- In the list of web App, to the left of the name of your website, click the arrow to display all slots. Click yourwebsite(Staging).
- Under Publish your app, click Download the publish profile.
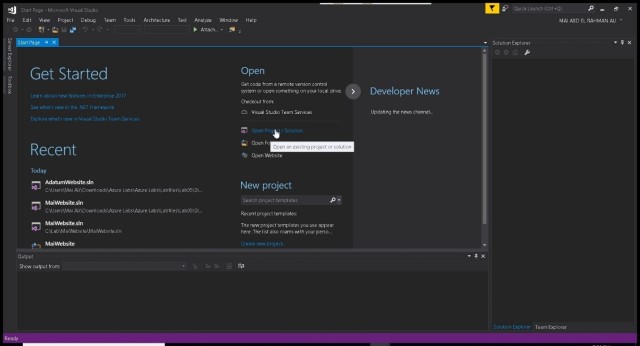
- On the Start menu, click Visual Studio 2017.
- On the File menu, point to Open, and then click Project/Solution.
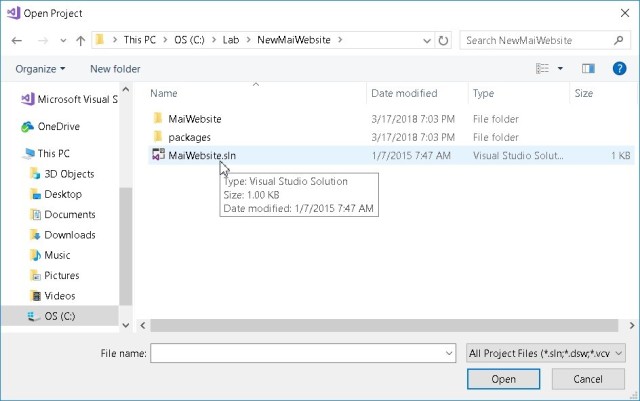
- Browse to the folder c:\lab\NewMaiWebsite.Click sln and then click Open.
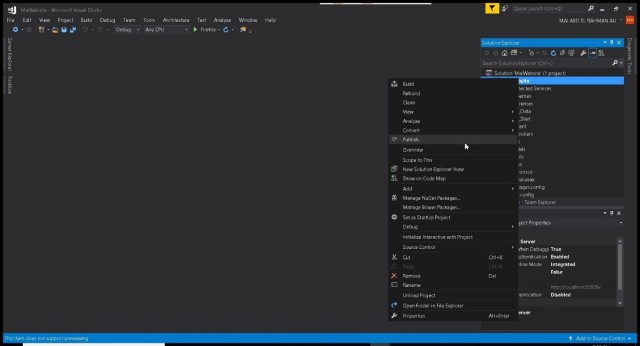
- In the Solution Explorer, right-click the MaiWebsite project, and then click Publish.
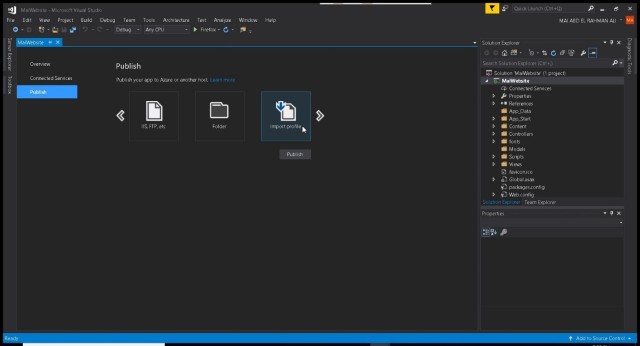
- In the Publish Web wizard, on the Profile page, click Import.
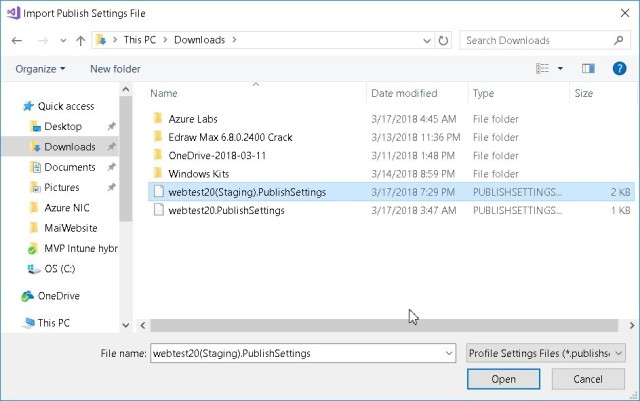
- In the Import Publish Settings dialog box, click Browse.
- In the Downloads folder, select the YourWebsite(Staging).PublishSettings file, and then click Open.
- In the Import Publish Settings dialog box, click OK.
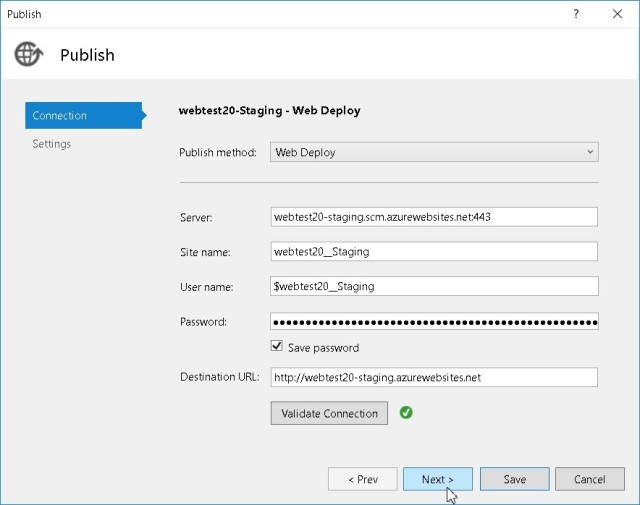
- On the Connection page, click Validate Connection. Click Next.
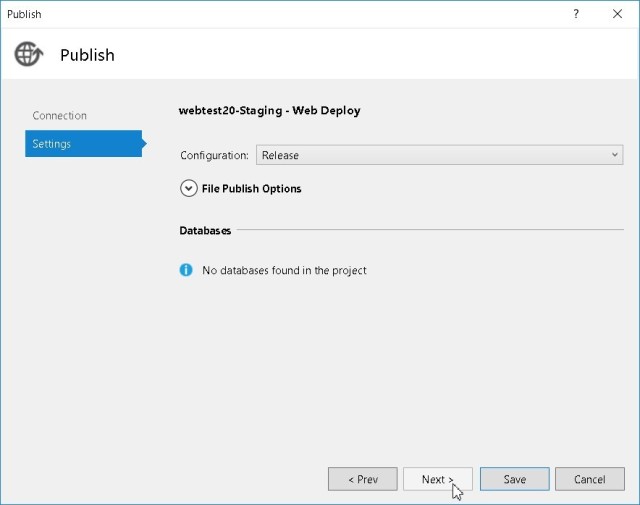
- In the Configuration drop-down list, ensure that Release is selected, and then click Next.
- On the Preview page, click Start Preview.

- Examine the files to publish and then click Publish.
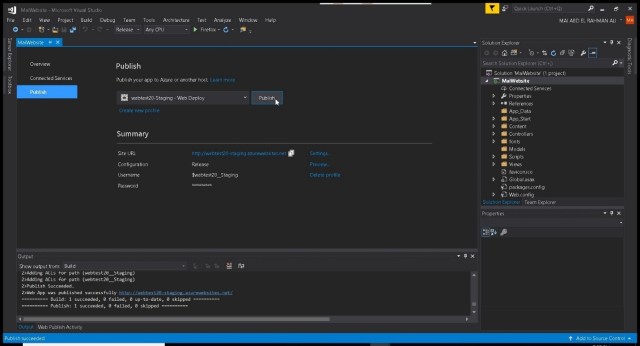
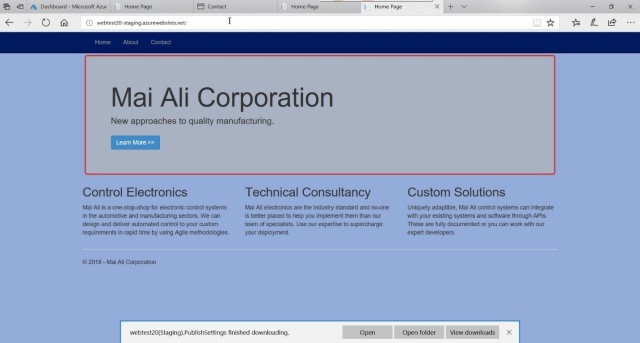
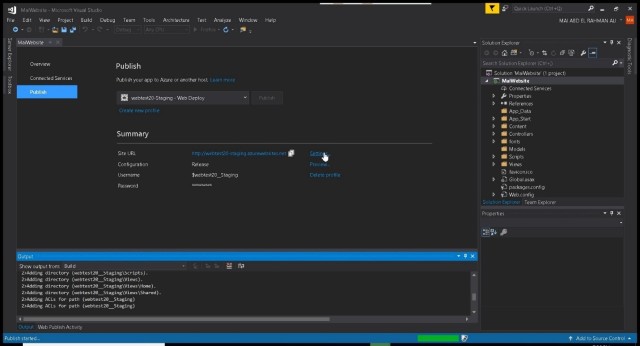
- When the publish operation is complete, Internet Explorer opens and displays the new website in the staging slot.